A Complete Guide to Wooden Toy Finishes: How to Choose the Right One?
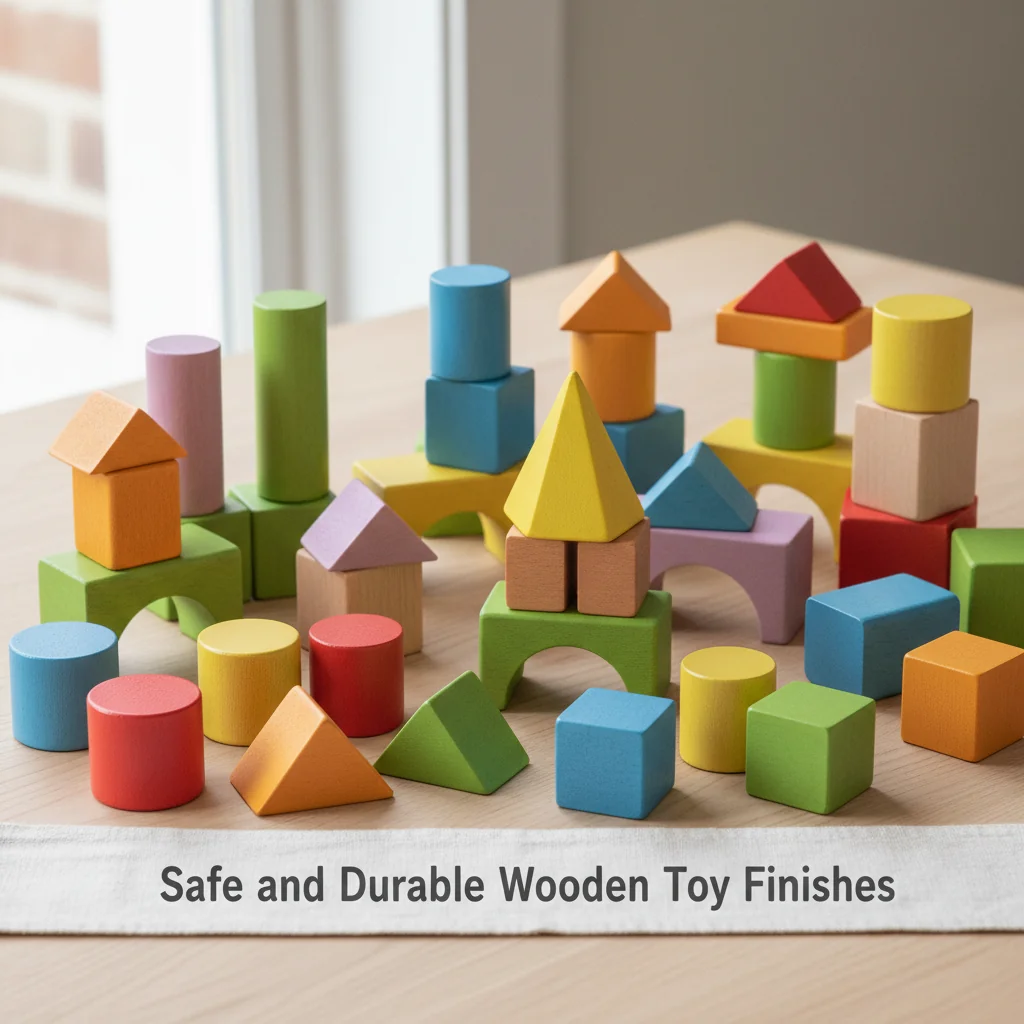
Choosing the wrong finish for a wooden toy can cause safety issues and poor durability. This can ruin your product's reputation. Understanding key finishes ensures safe, beautiful, and cost-effective toys.
Choosing the right wooden toy finish means prioritizing safety and durability. Select non-toxic[^1], child-safe options like water-based paints, shellac, or natural oils that comply with standards like ASTM F963. Your choice also depends on the desired look, application process, and overall production cost.
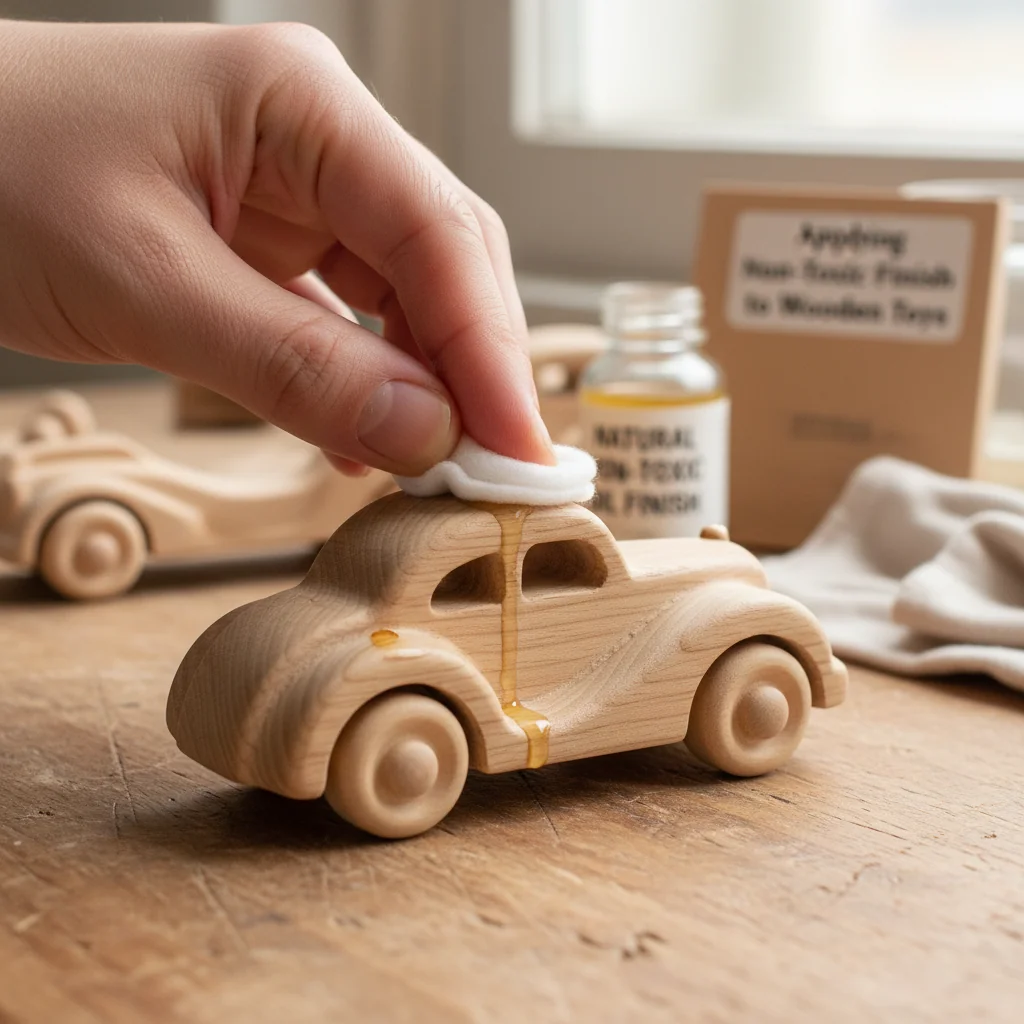
You might be wondering why a guy like me, who has spent his life in mold design and manufacturing, is talking about wooden toys. It’s a fair question. Recently, I helped a client in the toy industry, and it was a real eye-opener. I saw how many principles from our world of plastics and molds apply directly to traditional crafts like woodworking. It reminded me that understanding the full production lifecycle, from raw material to final inspection, is the key to mastering any manufacturing process. Whether you're molding a plastic part or carving a wooden block, the fundamentals of quality, safety, and cost-efficiency are exactly the same. Let's explore this process together, and I think you'll see the parallels are surprisingly clear.
All water-based paints are automatically non-toxic and safe for children's toys.False
While many water-based paints are safer than solvent-based ones, not all are certified non-toxic. You must verify that the paint complies with specific toy safety standards like EN-71 or ASTM F963.
Beeswax is a popular, non-toxic finish for wooden toys that is safe for babies to chew on.True
Beeswax is a natural, food-safe wax. When mixed with a food-grade oil like coconut or olive oil, it creates a durable, non-toxic finish that is perfectly safe for teething infants.
What Does the Wooden Toy Production Process Really Involve?
You think you know a production process, but hidden problems are costing you time and money. Each overlooked step adds delays and defects, frustrating your team and your clients.
The wooden toy production process[^2] has several key stages. It starts with material selection, then cutting and shaping. After that comes sanding, finishing, assembly, and a final inspection. Each stage is critical for the final product's safety and quality.
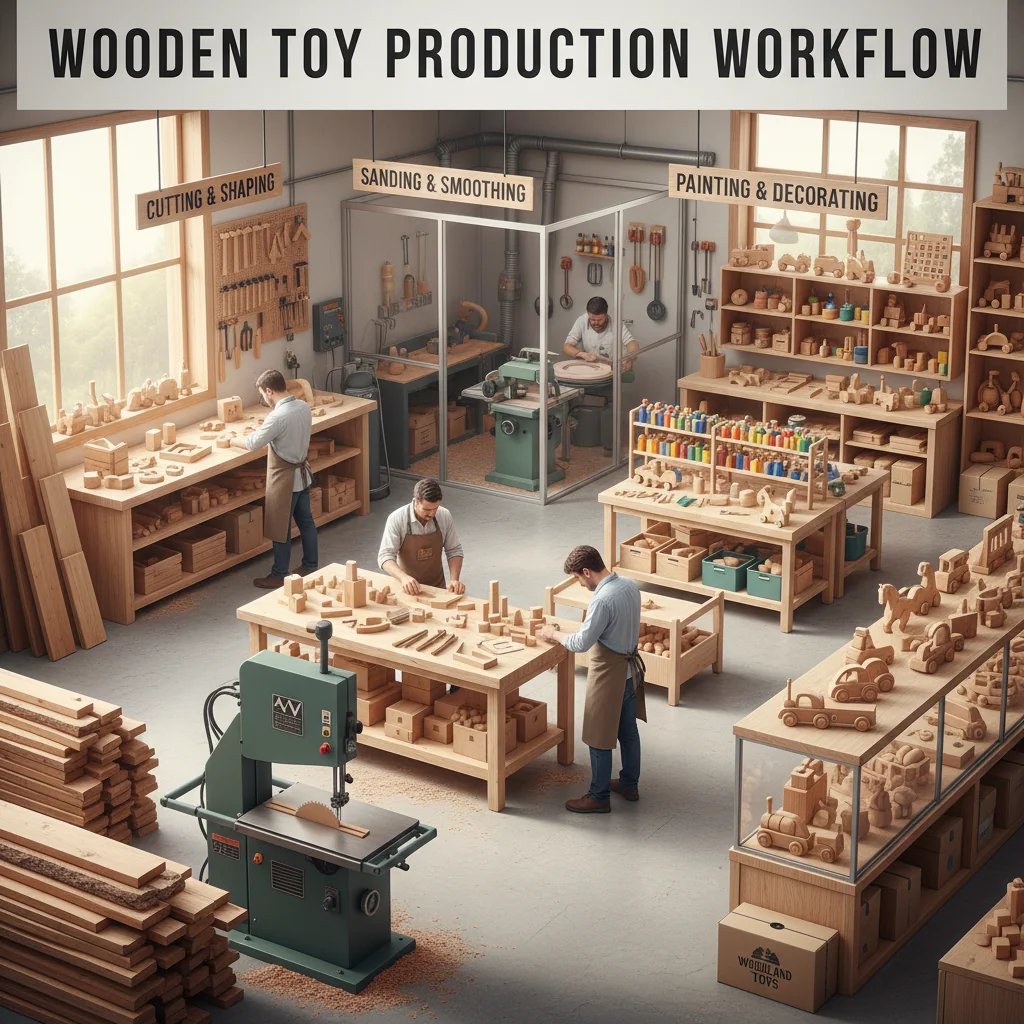
When I first walked through my client's wooden toy factory, it felt both different and familiar. The smell of sawdust replaced the hum of injection molding machines, but the logic was the same. It's all about transforming a raw material into a finished product efficiently. Breaking down the process helps you spot where things can be improved. This is true for making a toy car or a complex electronic enclosure. A flaw in an early step will always cause bigger problems down the line. Let's look at the main stages.
1. Raw Material Selection
Everything starts with the right material. In wooden toys, this means choosing woods that are durable and don't splinter easily. Hardwoods like beech, maple, or birch are excellent choices. In my world, this is like choosing between ABS, polycarbonate, or nylon. The material defines the product's performance.
| Wood Type | Key Characteristics | Best Use Case |
|---|---|---|
| Beech | Hard, strong, splinter-resistant | Blocks, cars, figures |
| Maple | Very hard, smooth grain | Teething toys, rattles |
| Pine | Soft, lightweight, affordable | Larger items, playsets |
2. Shaping and Machining
Once the wood is selected, it needs to be cut and shaped. This is often done with CNC routers, which is something I know a lot about from making molds. The precision of CNC ensures every piece is identical. This is just like CNC machining[^3] an aluminum mold. The goal is accuracy and repeatability.
3. Sanding and Finishing
This step is critical for safety and appearance. No child's toy can have sharp edges or a rough surface. The wood is sanded multiple times with finer and finer grits. This prepares it for the finish, which we discussed earlier. This is very similar to polishing a mold cavity to achieve a specific surface finish on a plastic part.
Softer woods like pine are always cheaper and therefore better for cost-effective toy production.False
While pine is often cheaper per board, it is also more prone to denting and splintering. This can lead to higher defect rates and more intensive sanding, potentially increasing overall production costs compared to a more durable hardwood.
The moisture content of wood must be controlled before production begins.True
Wood with high moisture content can warp, crack, or shrink after it has been manufactured into a toy. Kiln-drying wood to a stable moisture level (typically 6-8%) is a critical first step for quality manufacturing.
How Can You Master Wooden Toy Inspection for Flawless Quality?
A single defective toy can lead to a product recall, damaging your brand's reputation. The fear of missing a critical flaw can keep you up at night, worrying about safety.
Mastering wooden toy inspection needs a multi-point checklist. It should cover material defects, structural integrity, and finish safety, like EN-71 or ASTM F963[^4] standards. This systematic approach minimizes risks and guarantees compliance with international safety standards.
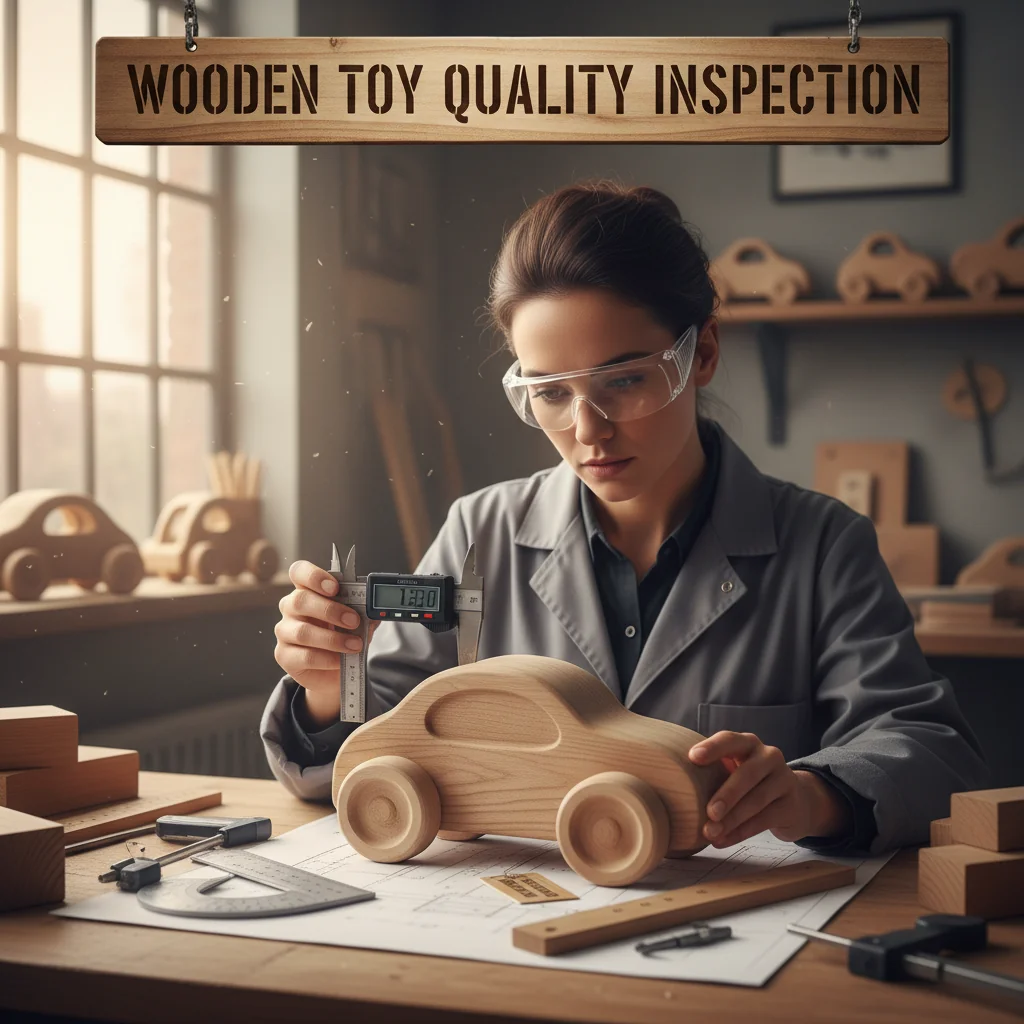
I've always said that you can't inspect quality into a product, you have to build it in. But inspection is the final gatekeeper that protects your customer and your company. For toys, this is even more important because children's safety is on the line. When I worked with my toy client, we developed a rigorous inspection protocol that borrowed heavily from the quality control systems we use for molded parts. It’s not just about looking for cracks; it’s a systematic process to verify every aspect of the toy against a set standard.
1. Safety Standard Compliance
This is the most important part. The finish and materials cannot contain harmful chemicals like lead or phthalates. We sent samples of the finished toys to a lab to test against standards like ASTM F963 in the US and EN-71 in Europe. We also performed physical tests. For example, we used special gauges to ensure no small parts could detach and become a choking hazard.
2. Dimensional and Aesthetic Checks
Just like with plastic parts, every piece of the toy has to be the right size and shape. If the axle for a toy car is too thick, the wheel won't spin. We used calipers to check critical dimensions. We also checked for aesthetic issues like inconsistent paint color or wood grain defects.
3. Durability Testing
Kids are not gentle with their toys. We simulated this by performing drop tests, impact tests, and pull tests on parts like wheels and heads. This is similar to the stress testing we do on plastic parts to ensure they can withstand real-world use.
Here is a simple checklist we started with:
| Inspection Point | Standard / Method | Purpose |
|---|---|---|
| Chemicals | Lab test (ASTM F963) | Check for lead, heavy metals |
| Small Parts | Small Parts Cylinder | Prevent choking hazards |
| Sharp Edges | Sharp Edge Tester | Prevent cuts and scrapes |
| Durability | Drop Test (from 3 ft) | Ensure structural integrity |
The EN-71 safety standard is recognized and accepted worldwide for all toys.False
EN-71 is the European standard. Other regions have their own mandatory standards, such as ASTM F963 in the United States, SOR/2011-17 in Canada, and the AS/NZS 8124 in Australia/New Zealand. Manufacturers must comply with the standards of the specific region where the toy will be sold.
A 'small parts cylinder' is a standardized tool used in toy safety testing to simulate a child's throat.True
If a toy or any piece that breaks off a toy fits entirely within this cylinder, it is deemed a choking hazard for children under three years old.
What Are the Smartest Ways to Reduce Wooden Toy Manufacturing Costs?
Rising material and labor costs are squeezing your profit margins on every project. You are forced to either raise prices or accept lower profits, which both hurt your business.
To reduce wooden toy manufacturing costs, focus on optimizing material usage and streamlining the production workflow. Designing for manufacturability (DFM) and bulk purchasing raw materials can also create significant savings.
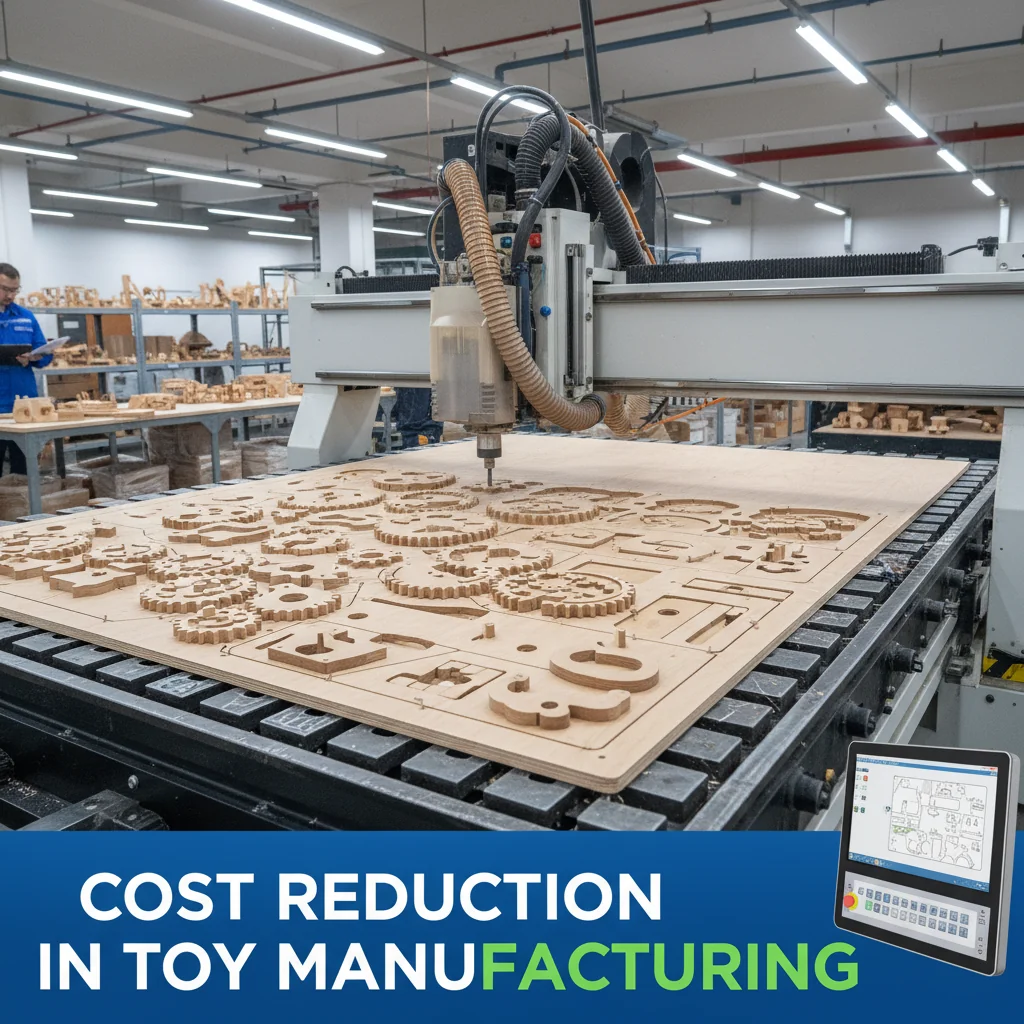
Every business owner I know, including myself, is always looking for ways to reduce costs without sacrificing quality. This was a major goal for my toy client. The principles for cost reduction[^5] are universal. It doesn't matter if you're making toys or high-tech components. It all comes down to being smarter with your design, your materials, and your process. I shared some of the key strategies I've learned over decades in the molding industry, and they worked just as well for wood.
1. Design for Manufacturability (DFM)
This is where designers like you, Jacky, can make the biggest impact. Before a single piece of wood is cut, you can design the product to be made efficiently. I remember we reviewed a toy truck that had 15 separate wooden pieces. By slightly changing the design, we combined several parts and reduced the count to 9. This meant less cutting, less sanding, and less assembly time, which directly translated to lower costs.
2. Material Optimization
Wood is sold by the board, just like steel or aluminum for molds. The goal is to get as many parts as possible from each board. We used software to plan the layout of the parts on the wood before cutting. This is called nesting. It minimizes waste material. This is the same thinking we use when designing a mold's runner system to reduce plastic waste.
3. Process Automation
Some tasks are repetitive and time-consuming. For the toy factory, sanding was a huge labor cost. We looked into automated sanding machines for flat parts. While it was an initial investment, the long-term savings in labor were huge. Using CNC machines for cutting is another form of automation that reduces manual labor and improves consistency.
| Cost Reduction Method | Impact on Quality | Implementation Effort |
|---|---|---|
| DFM | Can improve quality | Low to Medium |
| Material Nesting | No impact | Low (requires software) |
| Process Automation | Improves consistency | High (requires investment) |
Buying the cheapest wood available is the most effective way to lower material costs.False
The cheapest wood is often low-grade with knots, cracks, or a tendency to warp. This leads to a higher defect rate and more waste, which can ultimately increase the total cost per finished toy.
Simplifying a product's design by reducing its part count is a core principle of Design for Manufacturability (DFM).True
Fewer parts mean fewer manufacturing steps, less assembly time, lower tooling complexity, and fewer potential points of failure. This is one of the most effective strategies for reducing production costs.
Conclusion
Mastering production, from finishes to cost control, is key. These principles work across industries, helping you deliver quality products and grow your business, whether in mold making or woodworking.
منابع
[^1]: Exploring non-toxic finishes is crucial for ensuring children's safety and compliance with health standards.
[^2]: Learning about the production process can help improve quality and efficiency in toy manufacturing.
[^3]: Understanding CNC machining can enhance precision and efficiency in the manufacturing process.
[^4]: Understanding ASTM F963 helps manufacturers ensure their toys meet essential safety standards for children's products.
[^5]: Exploring cost reduction strategies can help manufacturers maintain profitability without sacrificing quality.
