How To Add Your Logo On Toys And Packages?
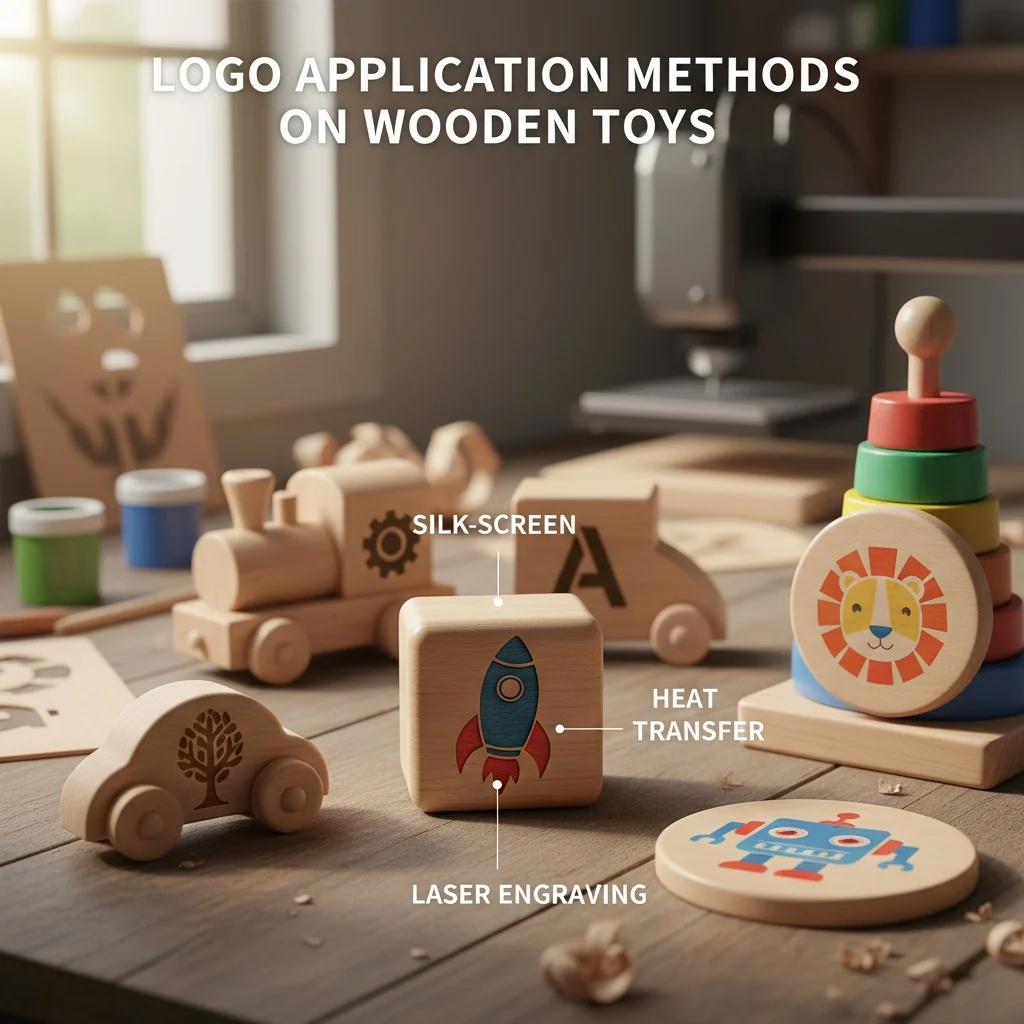
Your toy design is complete, but a poorly applied logo can ruin its appeal. Inconsistent or non-durable branding cheapens your product and frustrates you, reflecting badly on your hard work.
The best methods for adding logos to toys include silk-screen printing[^1], heat transfer, laser engraving, and pad printing. For wooden toys, laser engraving and silk-screen printing are top choices for their durability and premium finish. The right method depends on your design, material, volume, and budget.
Choosing the right method is just the first step. As a manufacturer who has produced thousands of toy types for brands worldwide, I've seen what works and what doesn't. The details are what separate an amateur product from a professional one. Let's dive into the specifics of each technique so you can make the best choice for your product and show your professionalism.
Pad printing is the only effective method for printing on curved toy surfaces.False
While excellent for many curved or irregular surfaces, pad printing has limitations. Other methods like screen printing with specialized jigs or flexible heat transfers can also be effective, depending on the curve's radius and the design's complexity.
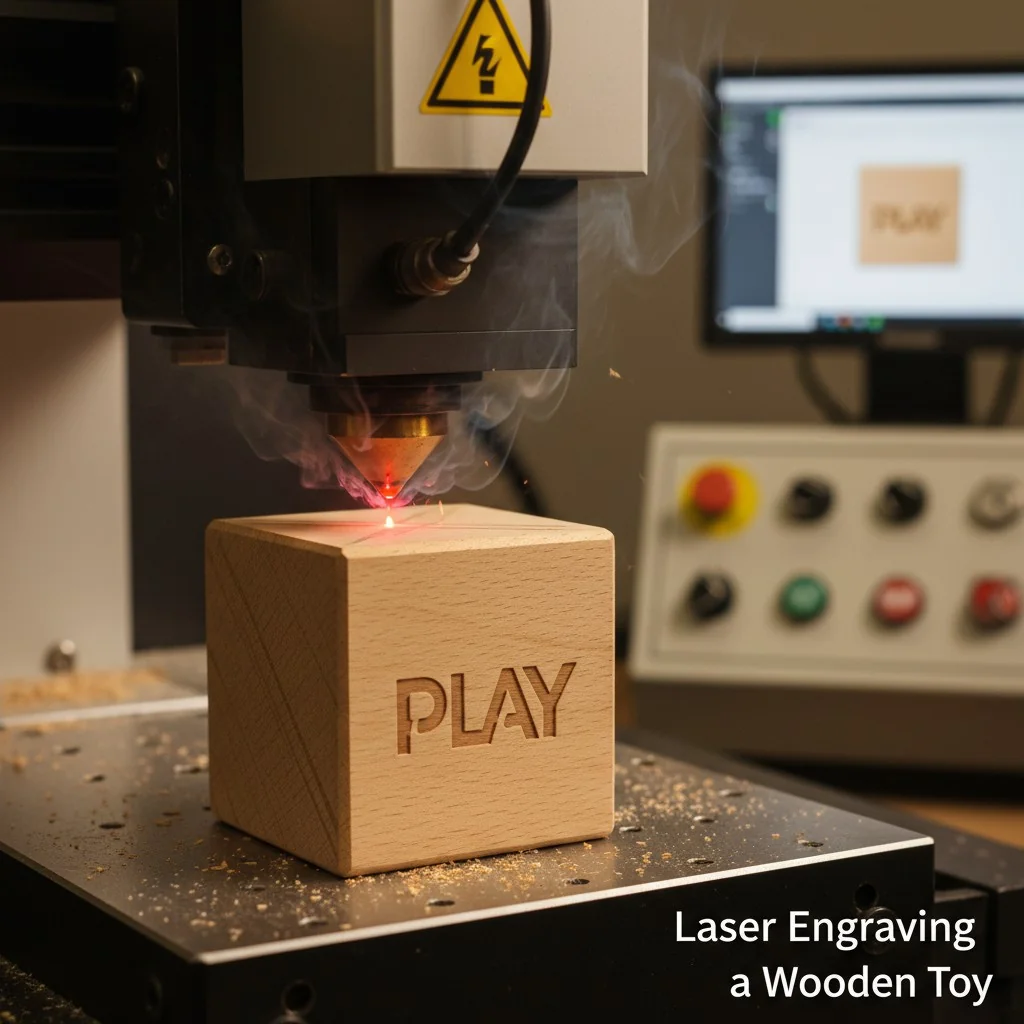
Laser engraving creates a permanent mark on wooden toys by burning away the surface material.True
This is exactly how it works. The laser vaporizes a thin layer of the wood, creating a precise, recessed mark that is as durable as the toy itself and adds no foreign materials or chemicals.
Which Logo Method Is Best For Wooden Toys?
Choosing a logo method for wood seems easy, but the wrong one leads to fading or chipping. Imagine your beautiful wooden toys with logos that wear off after a few months of play.
For wooden toys, laser engraving[^2] offers a premium, permanent, chemical-free finish. Silk-screen printing is excellent for vibrant, multi-color logos. Heat transfer works well for complex, full-color images. Your best choice depends on your desired aesthetic, color needs, and production volume.
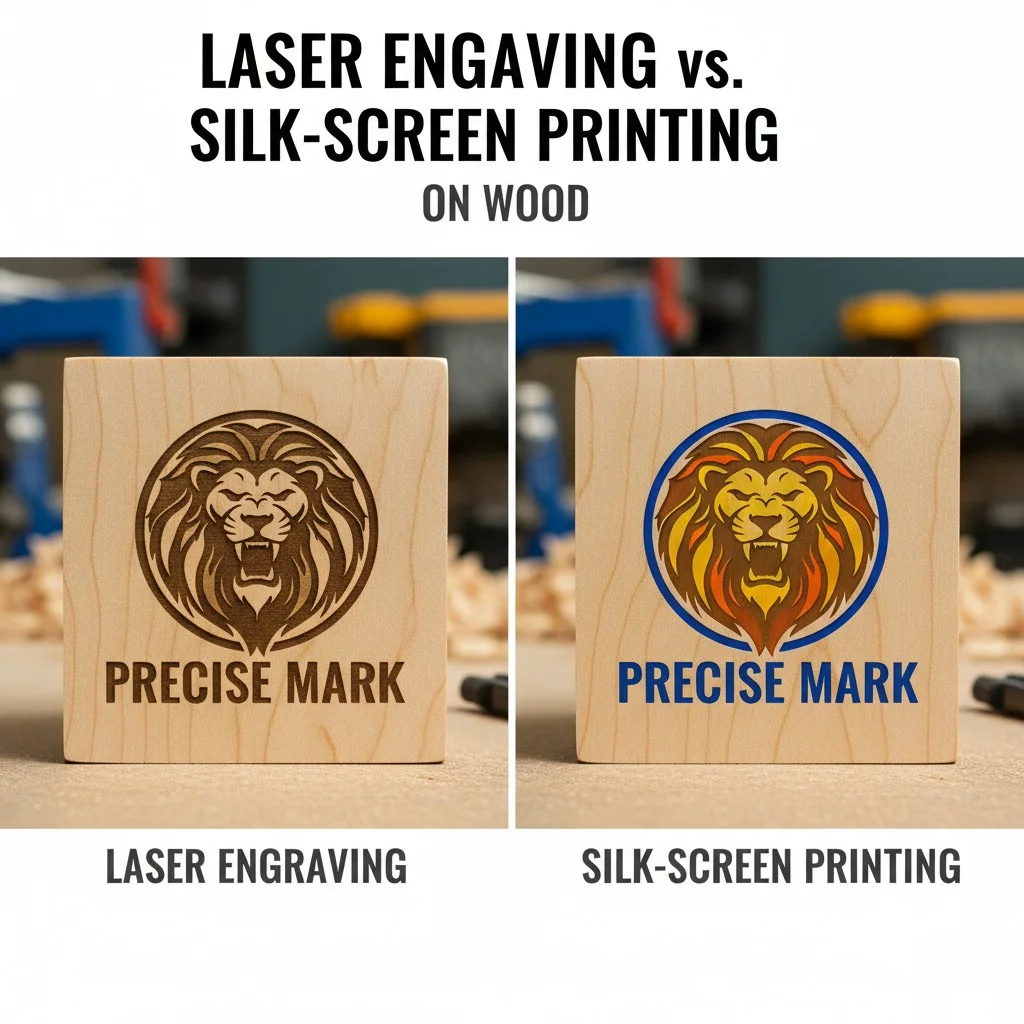
As a supplier to world-famous brands and reliable partner for business starters, I've guided many clients through this decision. The "best" method truly depends on the story your brand wants to tell. A rustic, eco-friendly brand might prefer the natural look of laser engraving, while a brand focused on bright, playful characters would need the color of silk-screen or heat transfer[^3]. Let's break it down further.
Finishes and Durability
The finish of your logo is the first thing a customer notices. Laser engraving creates a subtle, tactile indentation in the wood. It feels high-end and permanent because it is part of the wood itself. Silk-screen printing lays a layer of ink on the surface. When done correctly with high-quality, child-safe inks, it's very durable and offers bold, opaque colors. Heat transfer applies a thin film with the image, which is bonded to the wood using heat. It's great for photographic images but can feel slightly less integrated than the other two methods. For toys, durability is linked to safety. An engraved logo can't chip off. A printed logo must use inks that are certified non-toxic and can withstand rigorous use-and-abuse testing.
Comparing Your Options
To make it simple, here is a breakdown I often share with my clients.
| Method | Best For | Durability | Cost (per unit) | Color Options |
|---|---|---|---|---|
| Laser Engraving | Premium, single-color designs | Very High | Medium | None (natural burn) |
| Silk-Screen Printing | Vibrant, simple color logos | High | Low (at scale) | Limited per screen |
| Heat Transfer | Complex, full-color images | Medium-High | Medium | Unlimited |
| pad printing[^4] | Small logos on uneven surfaces | High | Low-Medium | Limited |
All inks used for silk-screening on toys are automatically child-safe.False
This is dangerously incorrect. A professional manufacturer must specifically source and use non-toxic, child-safe inks that are certified to comply with international safety standards like ASTM F963 (USA) or EN-71 (Europe).
Heat transfer printing on wood often requires a special coating on the surface for the ink to adhere properly.True
To ensure the image transfers cleanly and durably onto a porous surface like wood, a polymer pre-coating is often applied. This creates a smooth, non-porous surface for the transfer to bond with.
How Do You Prepare Your Logo Design For Manufacturing?
You have a great logo, but the factory sample comes back blurry or with the wrong colors. This back-and-forth wastes time and money, delaying your production and causing major frustration.
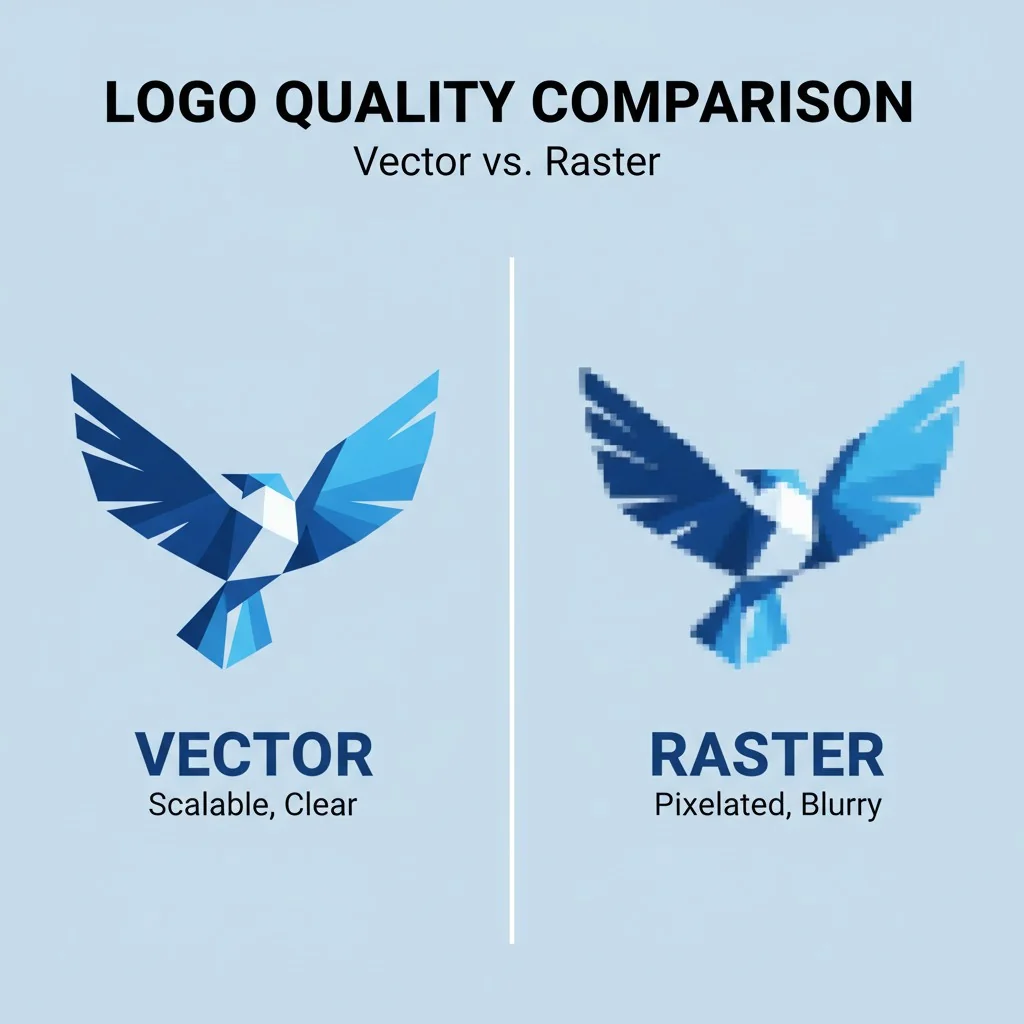
Always provide your logo in a vector format, such as .AI, .EPS, or .SVG, to allow for scaling without quality loss. You must also specify Pantone (PMS) color codes for accurate color matching. For engraving, a simple black-and-white vector file[^5] is best.
In my years of OEM manufacturing, file preparation is the most common source of delays for new clients. A clear file is like a clear blueprint for a building; without it, mistakes are guaranteed. Getting this right from the start shows your manufacturer that you are a professional and helps us deliver exactly what you envision, quickly. Let's look at the non-negotiable file requirements.
Vector is King
You must use a vector file for your logo. Think of it this way: a vector file is a set of mathematical instructions. You can tell the machine to make the logo one inch tall or one foot tall, and the lines will be perfectly sharp every time. A raster file, like a JPG or PNG, is a grid of pixels. If you try to make it bigger, the pixels just get larger, and the image becomes blurry and jagged. For any printing or engraving, we need the clean instructions from a vector file. Always save your logo as an Adobe Illustrator (.AI), .EPS, or .SVG file.
Speaking the Language of Color
Your computer screen shows colors in RGB (Red, Green, Blue). A standard office printer uses CMYK (Cyan, Magenta, Yellow, Black). Neither is reliable for manufacturing. We use the Pantone Matching System[^6] (PMS). This is a universal book of standardized color inks. When you give us a PMS code, for example, "PANTONE 185 C," we can mix that exact shade of red. This guarantees that your logo's red is the same on your toys, your packaging, and your marketing materials, anywhere in the world.
Method-Specific File Needs
- For Laser Engraving: We need the simplest file of all. A vector file with the logo in 100% black, with no colors or gradients. The machine only needs to know where to burn and where not to.
- For Silk-Screen Printing: Your vector file should have each color on a separate layer. If your logo has red and blue, we need one layer with the red parts and another with the blue parts to create the separate screens.
- For Heat Transfer: While you can use a high-resolution (300 DPI minimum) raster file, a vector file is still much better for any text or sharp lines in the design.
A 72 DPI JPEG file downloaded from a website is good enough for high-quality printing on packaging.False
72 DPI is the standard for web images only. For professional print quality, the minimum resolution required is 300 DPI. Using a 72 DPI file will result in a blurry, pixelated, and unprofessional final product.
Converting text to outlines or curves in a vector file prevents font issues at the factory.True
This is a critical step. It turns the text into un-editable shapes. This means the manufacturer's computer doesn't need to have your specific font installed, guaranteeing the typography looks exactly as you designed it.
What About Adding Logos To The Packaging?
Your toy is perfect, but the packaging looks cheap and the logo is not sharp. Poor packaging can kill a sale before the customer even sees the product inside, reflecting badly on your brand.
For cardboard packaging, offset printing[^7] is the standard for high-volume, high-quality results. Digital printing is great for smaller runs. For a premium feel, consider special finishes like foil stamping or embossing to make your logo stand out on the shelf.
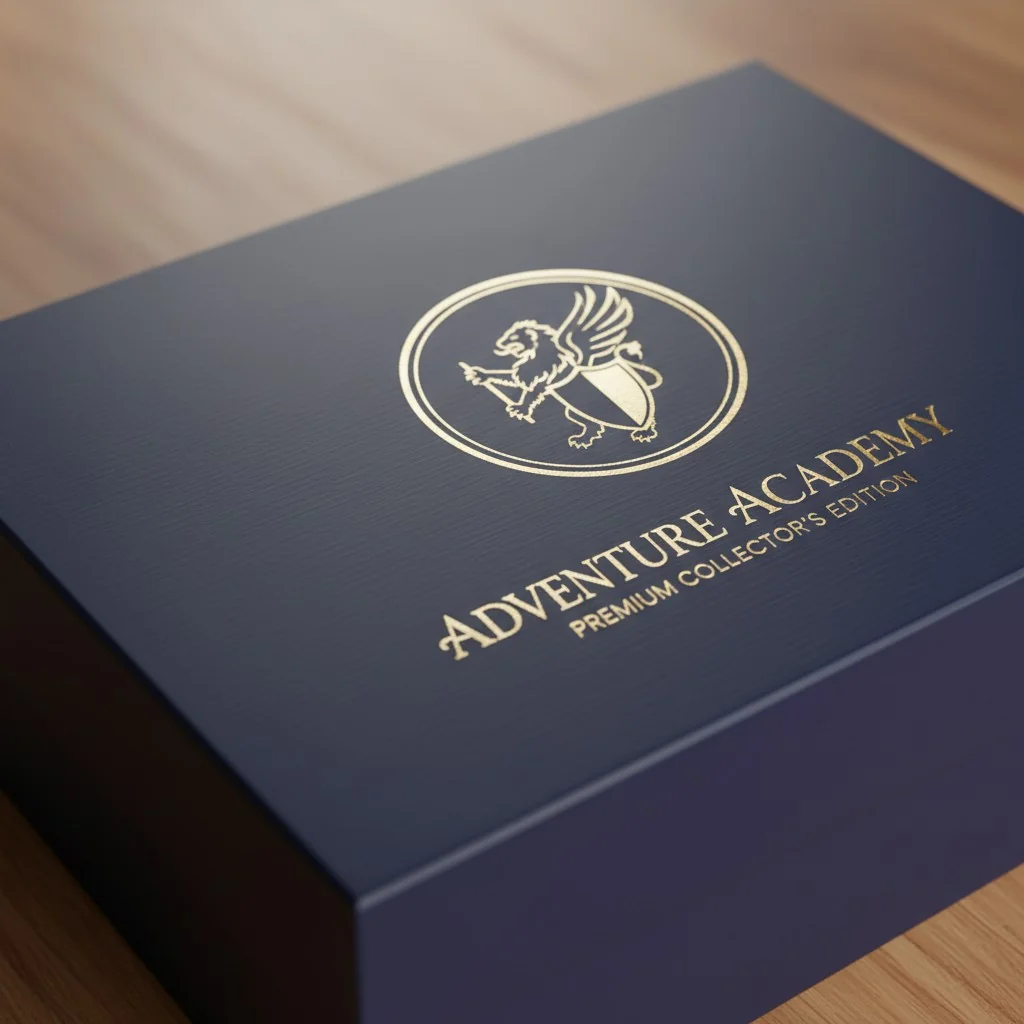
The package is the first physical interaction a customer has with your brand. It needs to communicate quality instantly. As a supplier for both startups and major brands, we handle all scales of packaging production. The choice between printing methods often comes down to your order quantity and desired market position.
High-Volume vs. Low-Volume Printing
- Offset Printing: This is the gold standard for mass production. It uses custom metal plates to transfer ink onto the packaging material. The setup cost is high because we have to create these plates. However, for large runs of a thousand units or more, the cost per box becomes very low. It provides the best quality and most accurate color matching, which is why all major brands use it.
- digital printing[^8]: This method prints directly from a computer file, much like a desktop printer but on an industrial scale. There are no plates, so there is almost no setup cost. This makes it perfect for business starters or for creating prototypes and small batches. The cost per box is higher than offset, but it's the most economical choice for low-volume orders.
Adding a Premium Touch
To make your product look more valuable, you can add special finishes to your logo on the box. These small details can make a huge difference on a crowded store shelf.
- embossing[^9]/Debossing: We use a metal die to press your logo into the paper, creating a raised (emboss) or recessed (deboss) 3D effect. It adds a tactile quality that feels luxurious.
- foil stamping[^10]: This process uses heat and pressure to apply a thin metallic foil (like gold, silver, or holographic) to your logo. It catches the light and signals a high-end product.
- Spot UV: We apply a clear, glossy varnish only to the logo area, while the rest of the box has a matte finish. This contrast makes the logo pop visually and texturally.
Digital printing is always cheaper than offset printing.False
Digital printing is only cheaper for small quantities due to the lack of plate setup costs. Once the print run reaches a certain volume (typically a few hundred to a thousand units), offset printing becomes significantly cheaper per unit.
Embossing a logo on a box requires a custom metal die to be created for the design.True
Correct. A unique metal die (the 'male' part) and a counter-die (the 'female' part) must be machined from your vector design. These are used to press the paper between them to create the raised 3D shape.
ສະຫຼຸບ
Choosing the right logo application for your toy and package is key. By matching the method to your material, design, and volume, you ensure a professional result that builds your brand.
References
[^1]: Explore the benefits of silk-screen printing for vibrant logos on toys, ensuring durability and appeal.
[^2]: Learn about the precision and permanence of laser engraving, a top choice for wooden toy branding.
[^3]: Find out how heat transfer can create complex, full-color images on toys, enhancing visual appeal.
[^4]: Discover the applications of pad printing for curved surfaces and its effectiveness in toy manufacturing.
[^5]: Understand the necessity of vector files for maintaining logo quality during printing and engraving.
[^6]: Understand the significance of PMS in achieving accurate color matching for branding and packaging.
[^7]: Delve into offset printing as the gold standard for high-volume packaging, ensuring quality and consistency.
[^8]: Explore the benefits of digital printing for small runs and prototypes, making it ideal for startups.
[^9]: Learn how embossing adds a luxurious touch to packaging, making products stand out on shelves.
[^10]: Discover how foil stamping can elevate your packaging with metallic finishes, signaling high quality.
